
The Smart Mirror Project
My first DIY project
The Goal.
My friend, Logan Ballard, and I wanted to create something that is both personal and functional. We also wanted it to stay hidden except when used. We fell upon this smart mirror website. This became our project. We are using:
Raspberry Pie 3 (or a pie with Wi-Fi capabilities).
A old 23" Asus monitor (it had an annoying little scratch).
8 feet of 11/16 x 2 1/2-inch wood.
8 feet of 1/2 x 1 inch for the frame.
Short HDMI cable.
24*24 One-way acrylic mirror.
After Completing the project my mirror is my Go-To. I can quickly see upcoming events, my calendar, and information I would have to jump between different apps on my phone to find. The mirror looks good and is easy to maintain. Let me explain what I did and what I learned.
The Software.
The software we are using is called MagicMirror2. It was super intuitive and easy to install and the developer support for it is amazing! I constantly see new "modules" for the mirror, so it is easy to customize. The UI is clean and easy to modify. Because of the modularity of the software, I can easily change the mirror to my liking whenever through remotely connecting to the raspberry pi. Here are the modules I am currently running on my mirror:
|
Module Name |
Description |
Location |
|
Tells Time |
Top Left |
|
|
Pulls calendars from school, personal, and work and displays them. |
Top Left |
|
|
Gives custom words of affirmation. |
Lower Third |
|
|
Gives the current weather for current city |
Top Right |
|
|
Gives the forecast for the next 10 days |
Top Right |
|
|
Gives News from RSS feeds, currently using: Fox 13 (local), New York Times, Wired, and TechnoBuffalo |
Upper Third |
|
|
Gives stock prices for companies currently showing MSFT, Domo, PS, SNE |
Top Bar |
|
|
Lists Events that are currently happening in my city. |
Bottom Left |
|
|
Lists current movies in theaters right now. |
Bottom right |
|
|
Shows the music I am currently playing on Spotify. |
Bottom Center |
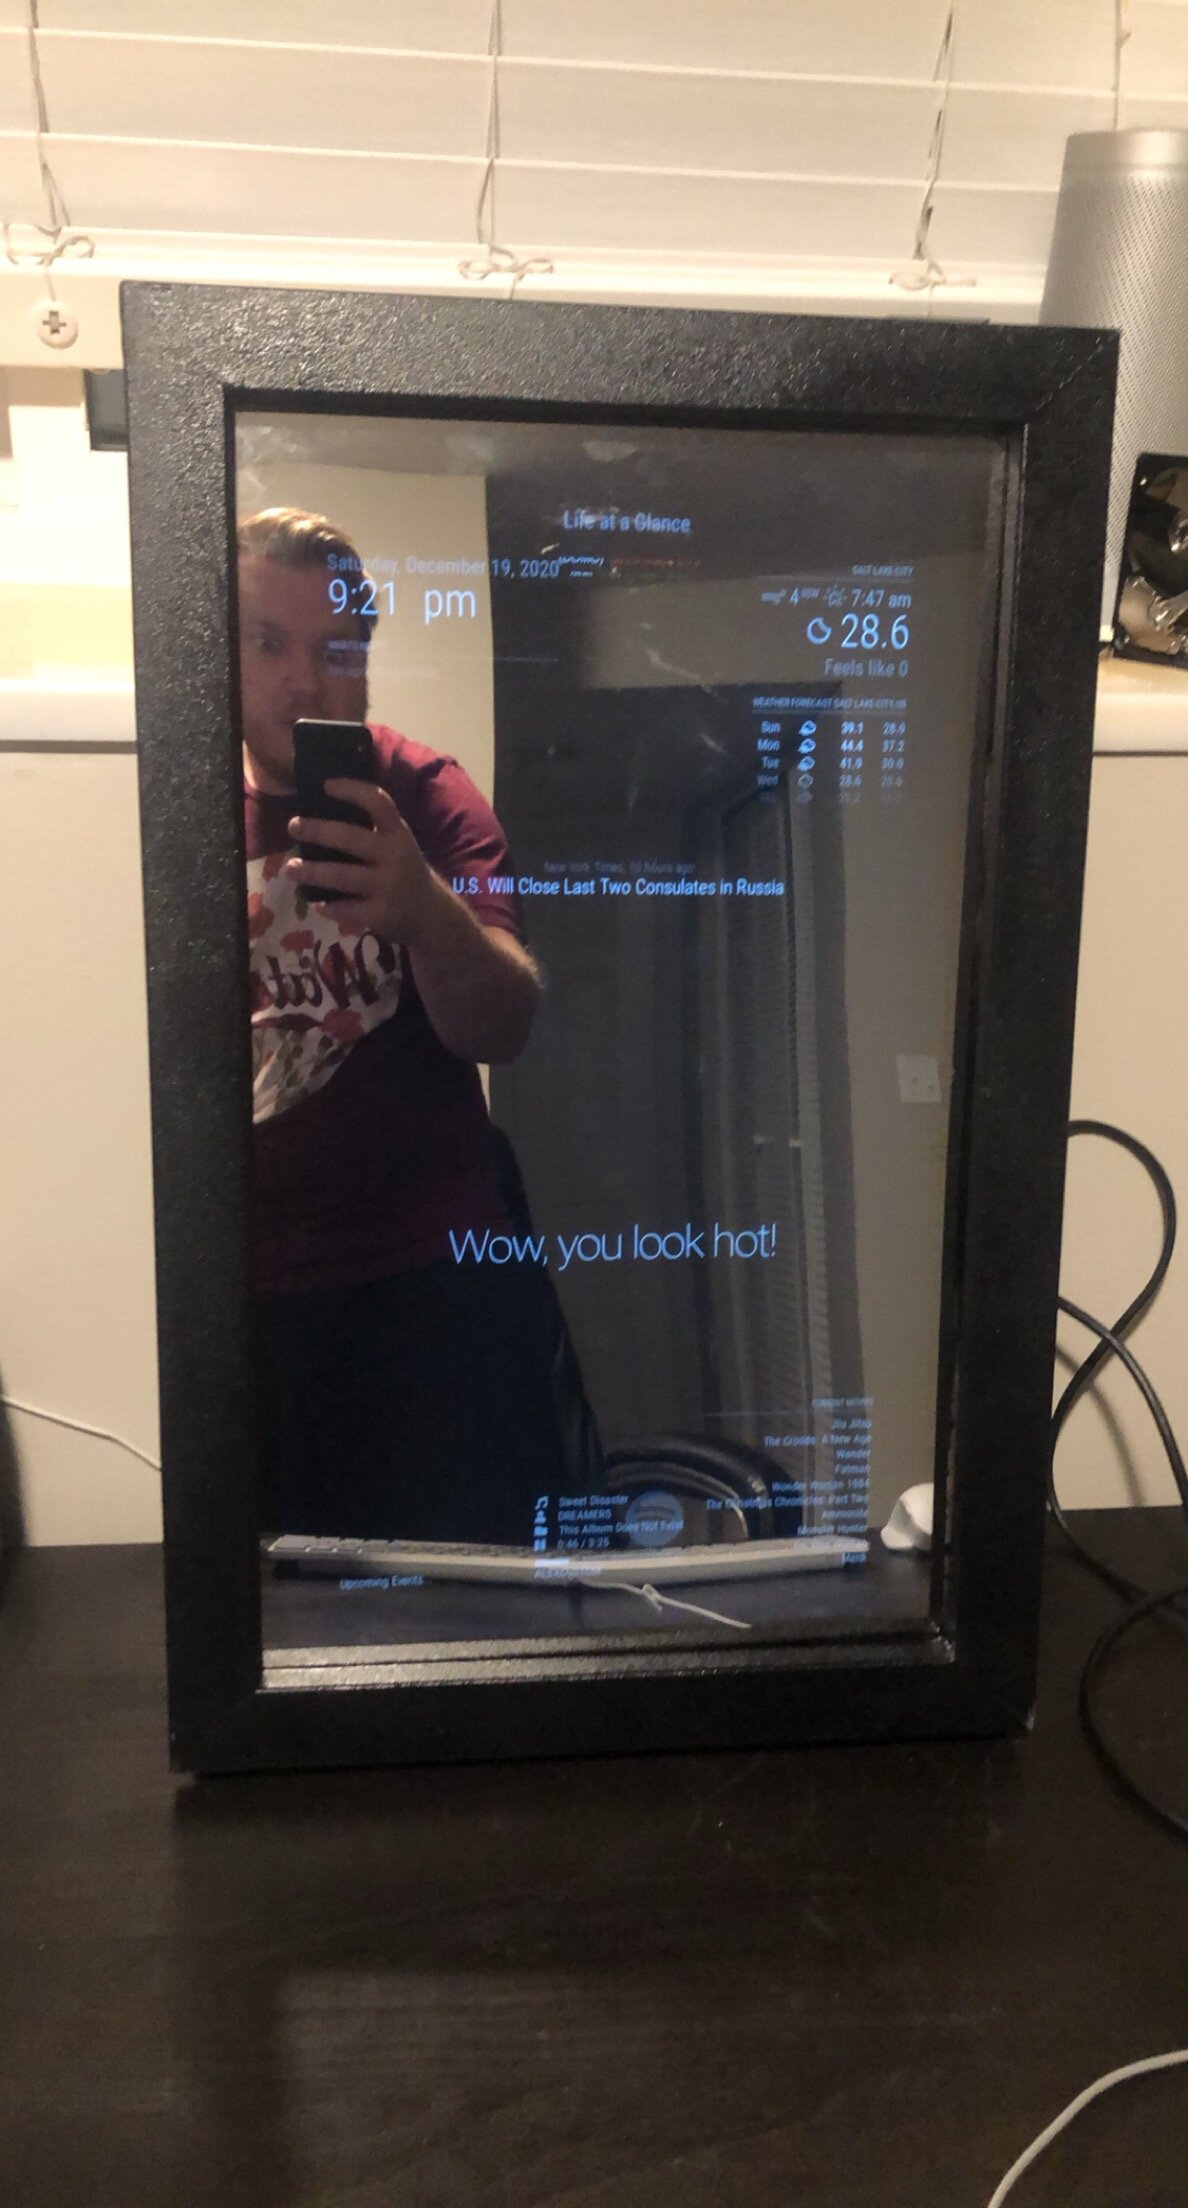
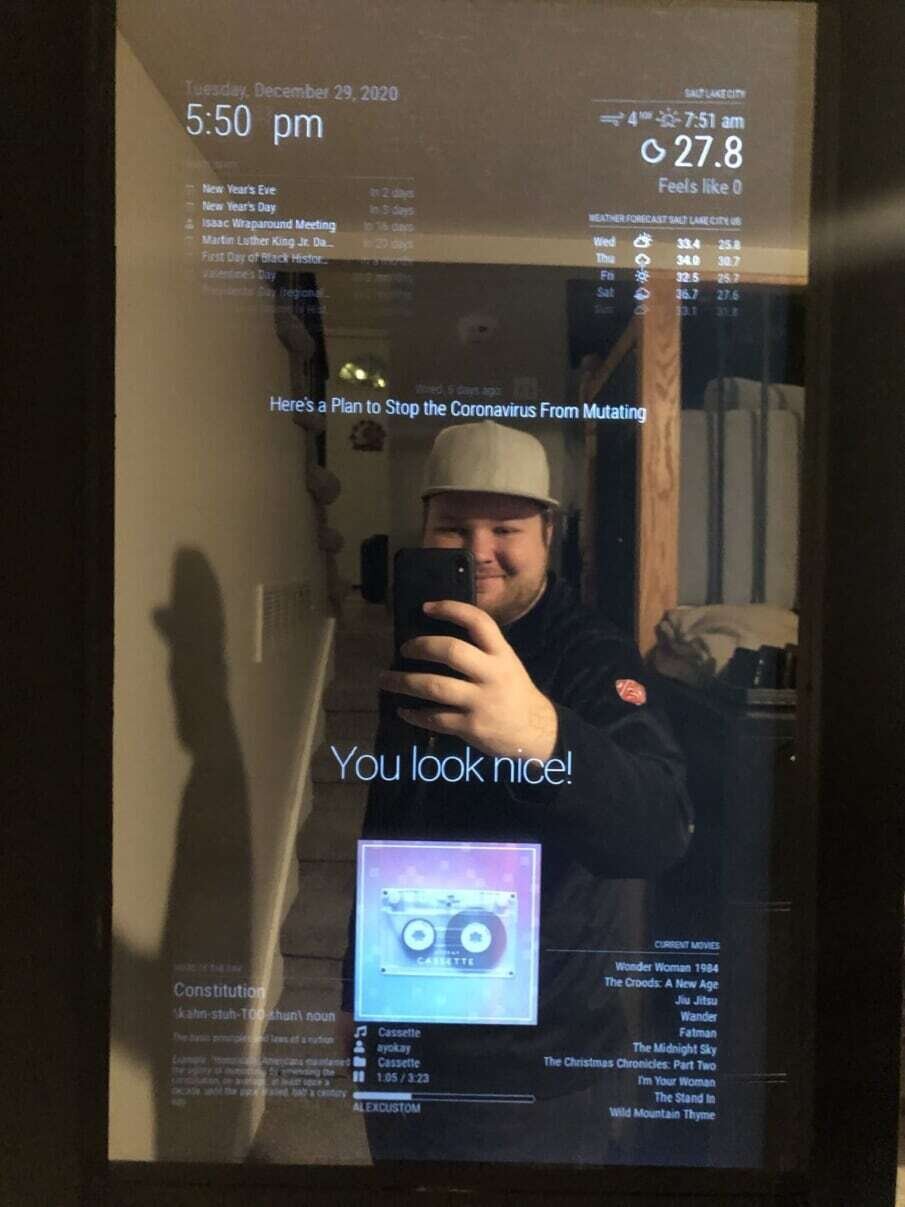
These modules allow me to see what I need to be doing, or what I can be doing. This has made my mirror a go to if I am bored. I can quickly see movies, events, and the news. It is also useful as a clock and for checking the weather (Particularly if there is an outdoor event).
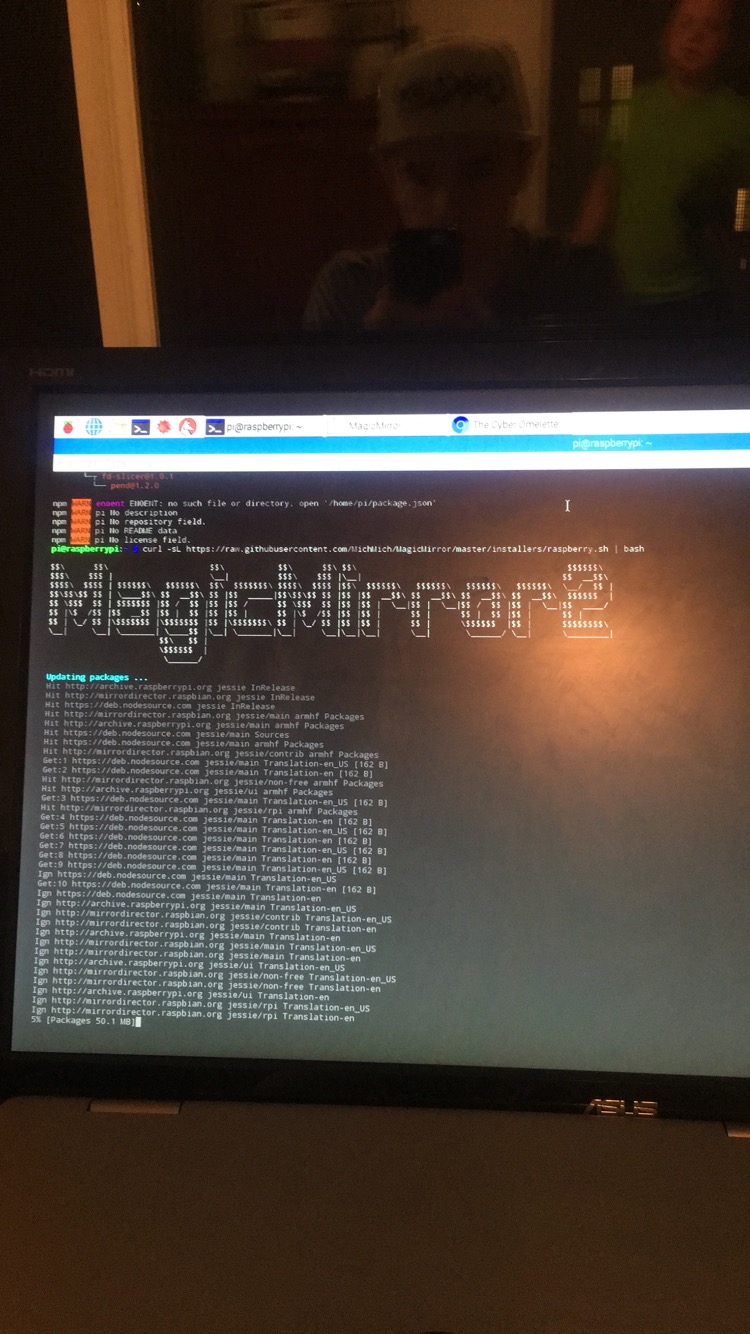
Smart mirror software booting
To get all the software working correctly was not difficult but time consuming. Reading documentation, debugging errors, and getting API keys for third party modules proved to be interesting and worth the time. As this was my first real personal project, learning where to look and how-to problem solve was the most difficult thing. Now that I have experience working in the shell and understanding how the system works, maintaining and updating the mirror is easy.
Clock, Calendar, Compliments, Weather, and News are all default modules. They came when I installed the Magic Mirror 2 software on my raspberry pi. This is where I started understanding how to manipulate modules. I started simple with modifying the words of affirmation and worked up from there. After that, I started exploring third party modules. I found the MMM-NowPlayingOnSpotify module most interesting. If I am exploring new music, I can look at my mirror as opposed to stopping what I am doing on my phone or computer. After exploring and getting an API key from Spotify It was easy to get working.
The Hardware.
As I am studying computer engineering, hardware was the most difficult part of my project. In fact, for about 2 years, I have been using just the monitor connected to the raspberry pi. I did not have the tools to really do a good job. When I first embarked on this project, I used the skills of some peers to build the frame in 2017. This is where I learned two key things: Do not make things harder than they need to be and your first attempt will never be perfect.
First text of the new frame (still using old acrylic)
Building the frame, I should have made straight cuts… I did not. Using my 0 years of experience in wood working, I thought it would look better to cut at 45-degree angles because it would look like each piece of wood went the full length of the frame. Turns out, it is a lot harder to cut diagonal then straight. The cuts made were not quite straight so the box that holds the monitor is not even, however we fixed this when doing the outside frame. This is where I decided, it looks good enough.
I then purchased the acrylic (still in 2017). I purchased cheap acrylic because I was/am a college student. This is where I learned another lesson: sometimes its worth it to pay for the better stuff. I ended up shattering the acrylic several times. This is where I put the project until this year.
After my interest was re-ignited, I did some research and found twowaymirrors.com a site where I can find acrylic that is thicker, precut, and will look better. The acrylic I was using was only 1mm thick and would bend, creating a fun house effect. This new piece is 6mm thick and is much stiffer. After ordering this new acrylic, I had to fix my frame because it had been in storage for a few years. I reglued the frame to make sure it was strong enough then repainted.
All Together Now!
Because the monitor I am using has an indent in it, this is where I am putting the raspberry pi and cables. I glued the new acrylic into the frame, pressed the monitor in behind it and did some cable management. Using command strips I fastened the raspberry pi to the back of the monitor. I then used a French cleat to mount the mirror to the wall. The cleat helps keep the monitor in place and allows it to be easily wall mounted. Then I finally mounted it to the wall.
I am really proud with how it finally turned out. It was a long project, but I learned a great deal about planning, developing, and executing a project. Going forward I am looking at expanding the mirrors information. I am working towards a smart home, so developing or implementing modules with house temperature, room data, and voice assistance are something that will keep this project alive for the foreseeable future.